Basics
Note
This page will not go in-depth about everything regarding Tenacity. It is intended to be a quick overview of the most common features in Tenacity.
One of Tenacity’s design goals is to be easy to use yet powerful at the same time. This page describes some of the most common features and their basic usage.
Getting Started
First, open Tenacity. The main window should look something like this:
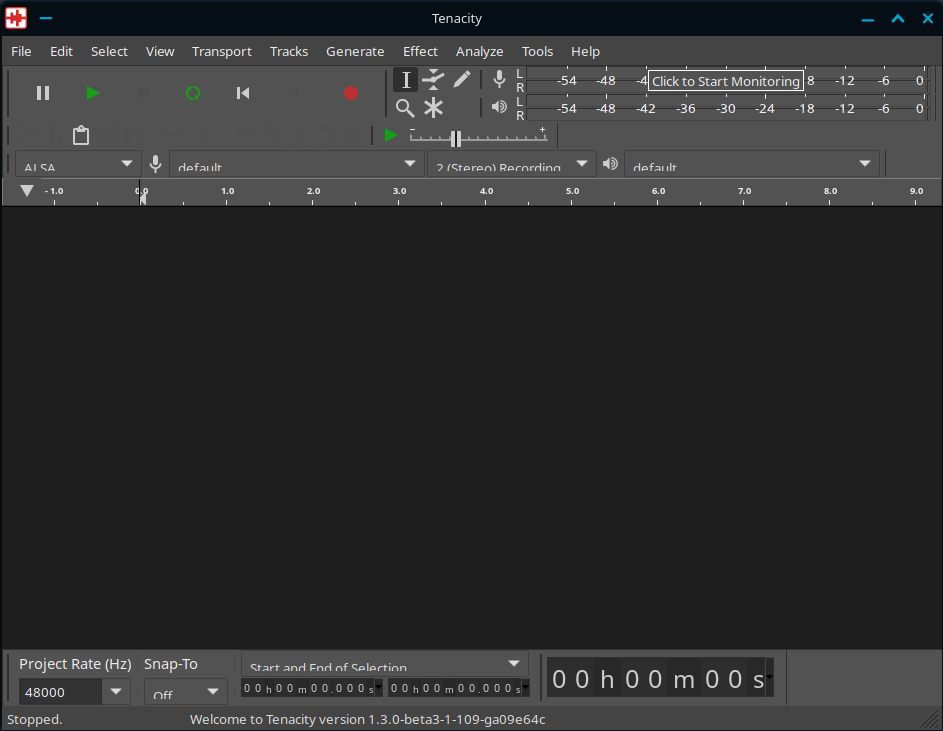
This window is called the project window. The project window is where you edit audio. The project window contains several toolbars (top and bottom) and the track area (which contains tracks).
To get started, first import some audio. Go to File > Import > Audio to import audio. Alternatively, you can drag and drop the file into the track area (the big empty area in the window).
If you don’t have any audio files to import, you can alternatively generate some audio. Go to Generate > Tone, leave the fields unchanged, and click ‘OK’ to generate some audio.
Note
You can explore with the different generators if you’d like, but we will not cover them in this guide.
Editing Basics
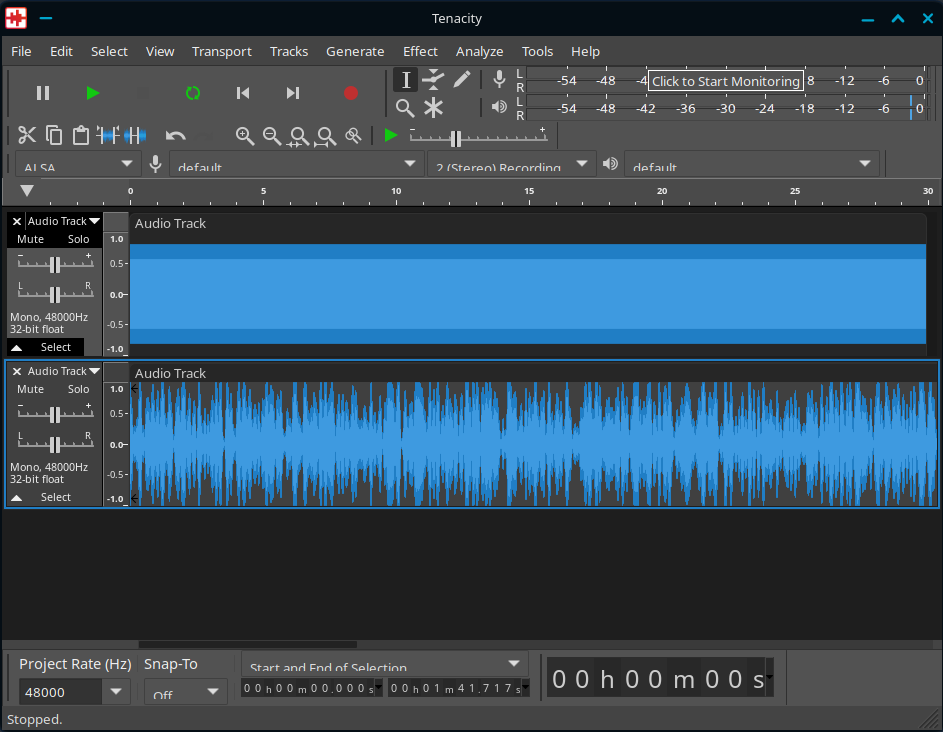
Once you have imported or generated your audio, it will look something like this:
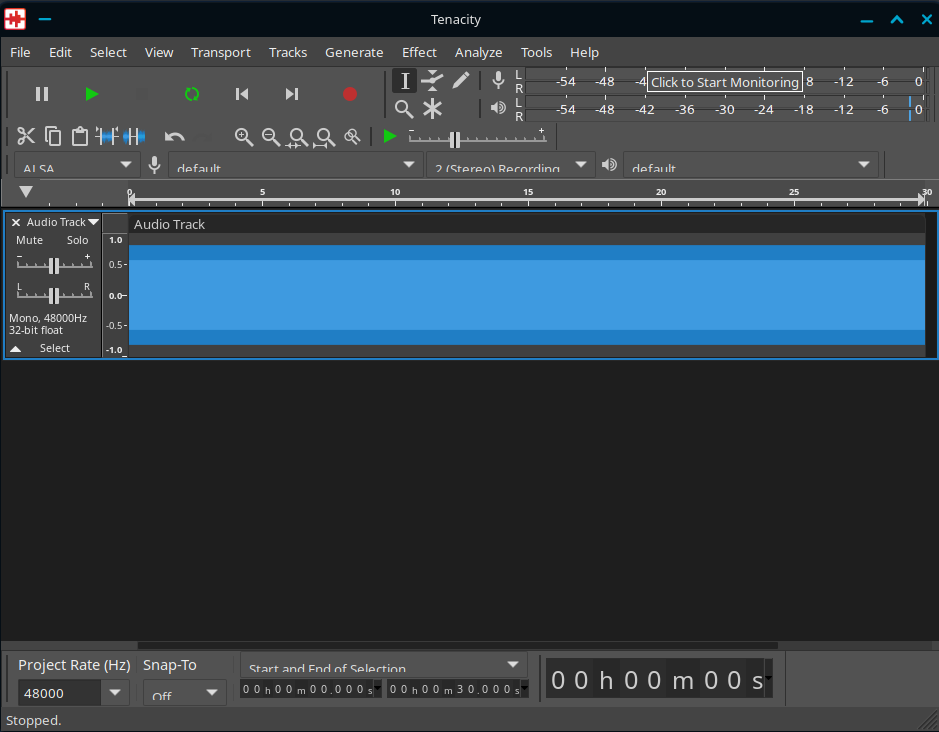
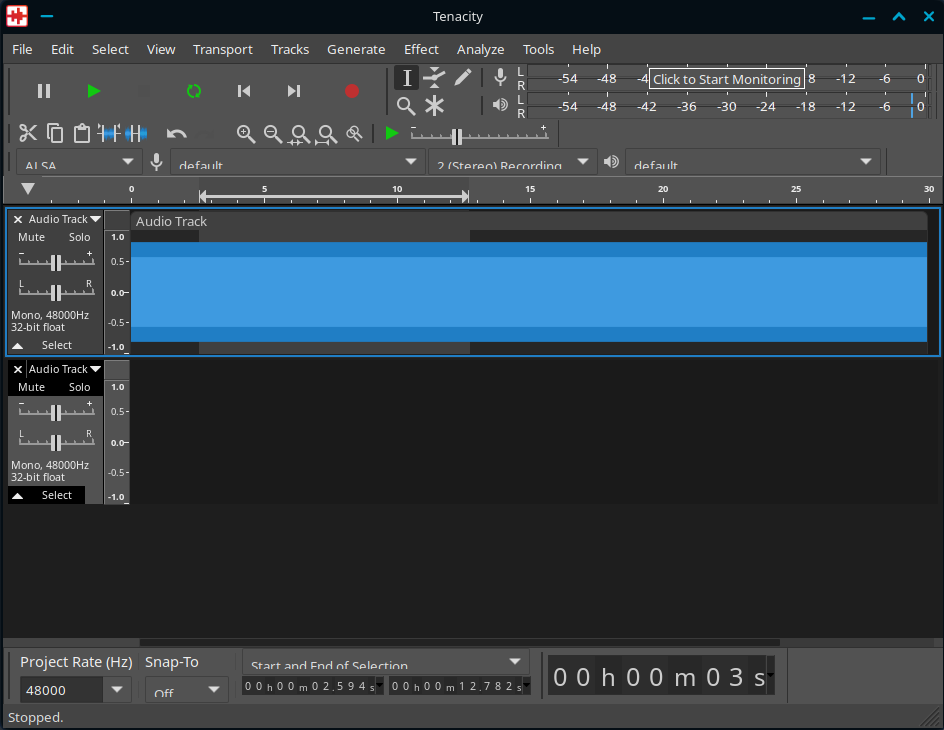
First, let’s create a new mono track. To do that, click on Tracks > Add New > Mono Track. Your project window should now look something like this:

Now, let’s select some part of our main track (which is the audio we imported/generated earlier). Since the selection tool is selected by default, we can simply click somewhere in our track and drag our cursor to the left or the right to select. It should look something like this:
You can do various things from now on. You could delete that selected part (by hitting the Delete key), you could copy it (by hitting the Ctrl+C key combo) and pasting it somewhere else (by clicking on some other part of the track and hitting the Ctrl+V key combo), etc…
We’ll copy that part and paste it into our new track. To do that, hit Ctrl+C to copy the selected part, go to the very start of the new track we’ve just created by clicking at the leftmost edge inside it (a long white vertical bar should appear indicating you’ve reached the start, if that’s the case, just click), and hit Ctrl+V. Your project window should now look something like this:
Now, let’s playback what we’ve created! To do that, simply click the button with the Play icon in the toolbar at the top left. Now, depending on what audio you’ve chosen at the beginning of this guide, it might sound different. For example, if you’ve imported some audio, you might hear the same audio in double. Or, if, like in this guide, you’ve decided to generate tone, you’ll hear exactly the same thing. But, fear not! Because we’re going to introduce you to something. And that is…
Using Effects
That’s right! Tenacity has a bunch of built-in effects, however you can add your own as well! For the purpose of this guide, we’ll be using the Paulstretch effect.
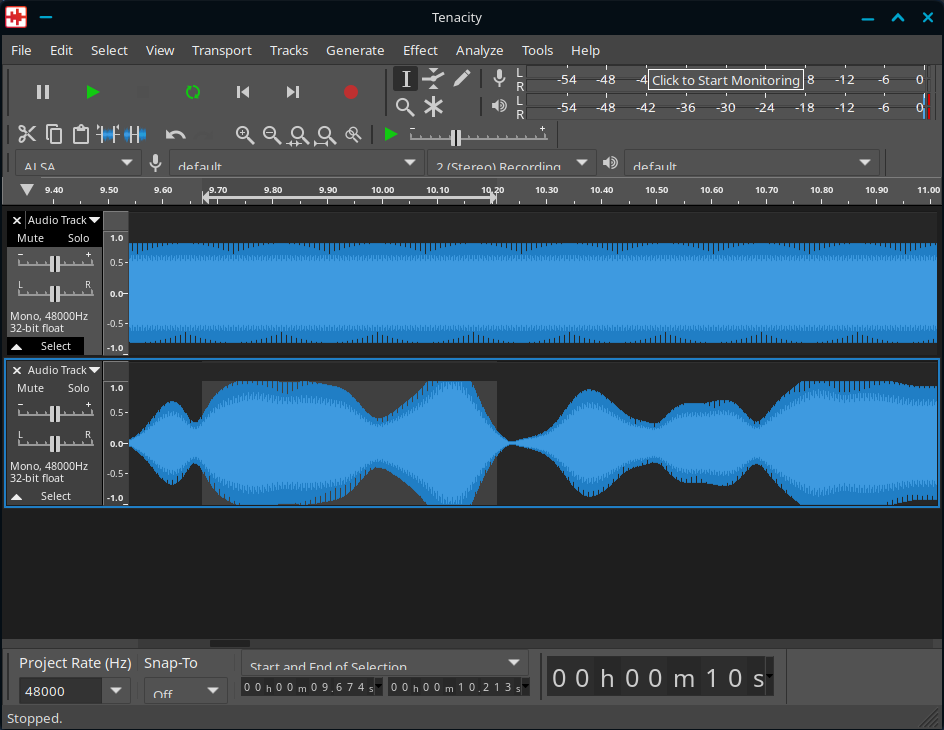
First, let’s select all the audio in our second mono track. To do that, click inside that track and use your mouse cursor to select everything, like we’ve previously teached you how to do. Once that’s done, head over to Effect > Paulstretch, and click ‘OK’ to use the default settings. Depending on the length of the audio and the speed of your computer (mostly the CPU), it might take quite some time. However, once it’s done, your project window might look something like this:
And now playback that beautiful creation! It sure does sound… odd, to say the least…
One More Thing
Finally, let’s do one last thing while taking a look at another feature: zooming! Let’s go!
Usually, you can select any part of your audio for whichever reason you want. However, sometimes, you need to select that tiny bit of audio and need to be very precise. For this, you can use zooming!
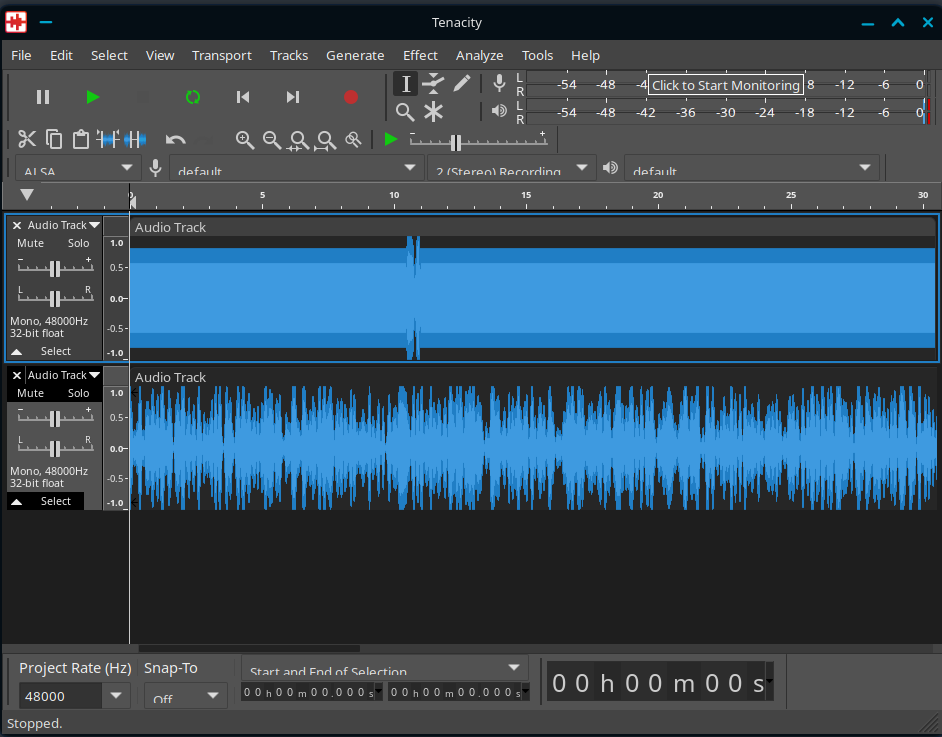
We’ll select some part of our audio inside our second mono track. To do that, just hold Ctrl and use your scroll wheel to zoom in or out. Scrolling up will zoom in, while scrolling down will zoom out. Your project window might look something like this:
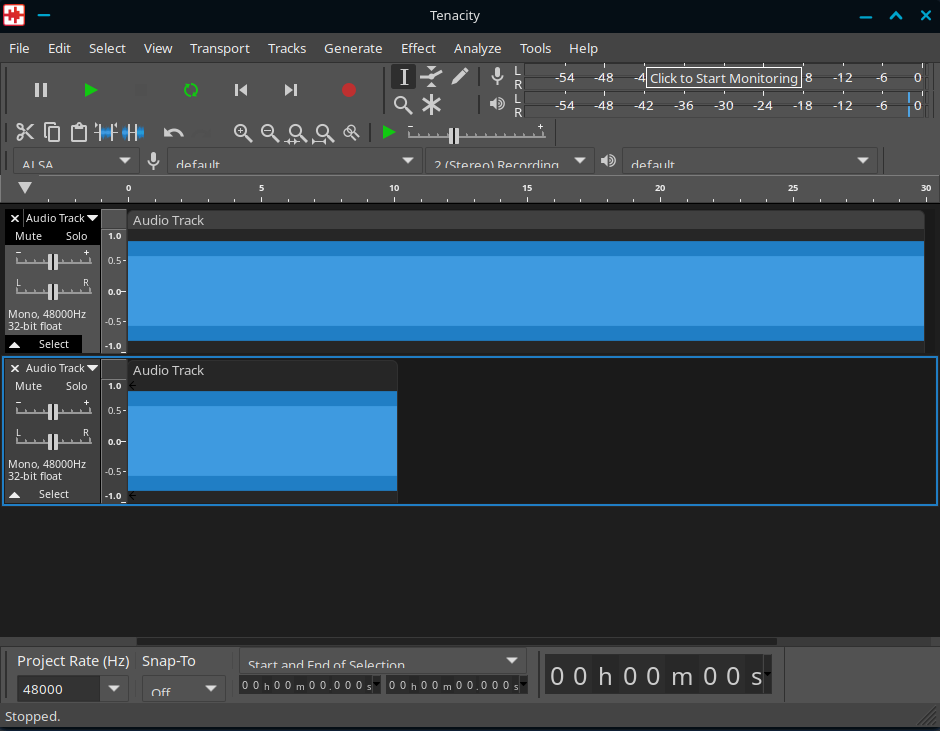
After this, we’ll cut that part out. To do that, simply hit Ctrl+X. Now, go over to your first mono track, and paste your cut part anywhere inside the track by hitting Ctrl+V. You may now zoom out. Once that’s done, your project window might look something like this:
Note
You can zoom to selection by hitting Ctrl+E. This can easily save you quite some time trying to find the right spot when zooming in or out.
And now, playback what you’ve created! Congratulations! You now know the basics of editing with Tenacity. With that all said, have fun!